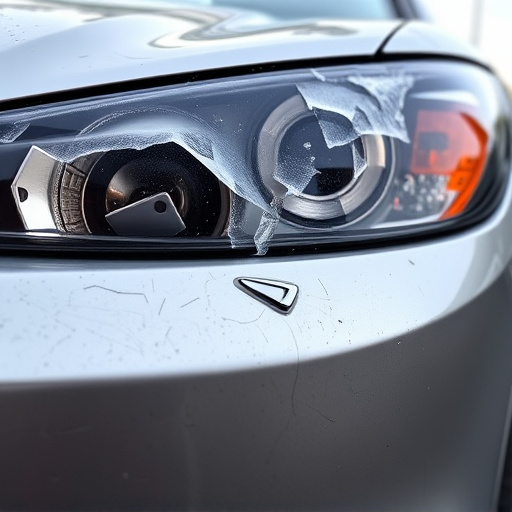
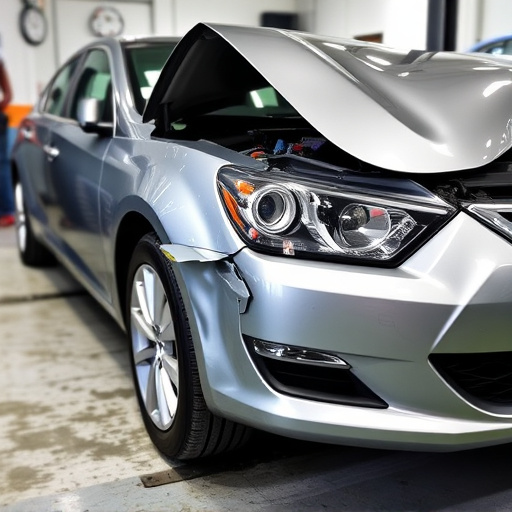


Thoroughly inspect hood dent damage for size, depth, and location. For minor dents, use hammers or suction cup pullers; severe dents may require collision center equipment. Remove paint with stripper to expose metal, then assess again after stripping. Use heat or vibration techniques to pop out the dent, then inspect for further damage.
“Looking to fix that pesky hood dent on your vehicle? This step-by-step guide walks you through the process of removing a hood dent, from initial assessment to final touch-ups. First, understand the damage and gather essential tools for the job. Then, carefully strip away any paint impacted by the dent using safe techniques. Next, employ methods to ‘pop’ the dent, releasing trapped air. By following these simple steps, you’ll be well on your way to a seamless, dent-free hood in no time, saving both time and money with DIY hood dent removal.”
- Assess and Prepare: Understand the Damage and Gather Tools
- Remove Paint: Carefully Strip the Affected Area
- Pop the Dent: Use Techniques to Release the Trapped Air
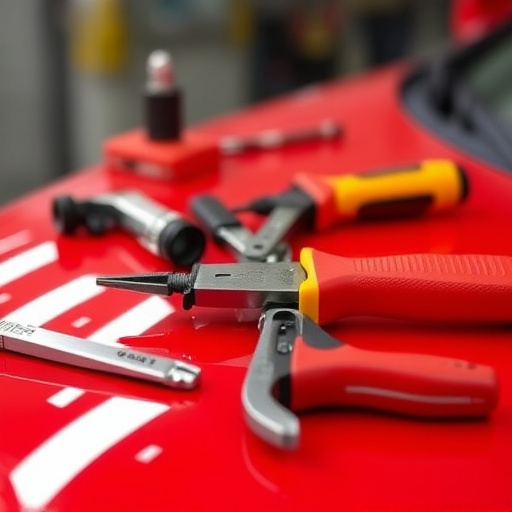
Assess and Prepare: Understand the Damage and Gather Tools
Before attempting any hood dent removal, it’s crucial to assess the extent of the damage. Start by inspecting the dent closely; note its size, depth, and location on the vehicle. Dents can range from shallow dings to severe depressions, each requiring a tailored approach for effective repair. Some may even involve hidden damage beneath the surface, making professional assessment essential.
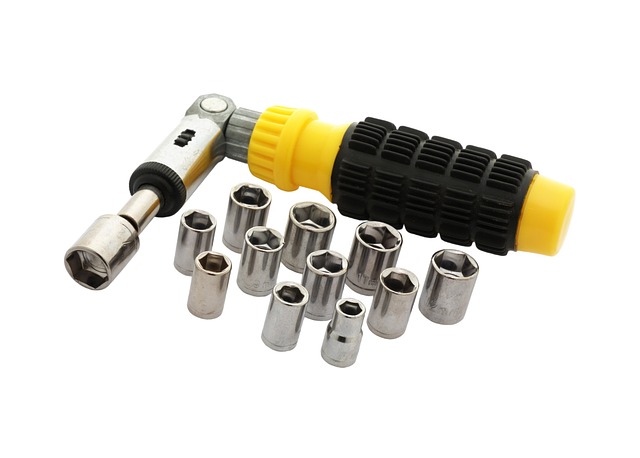
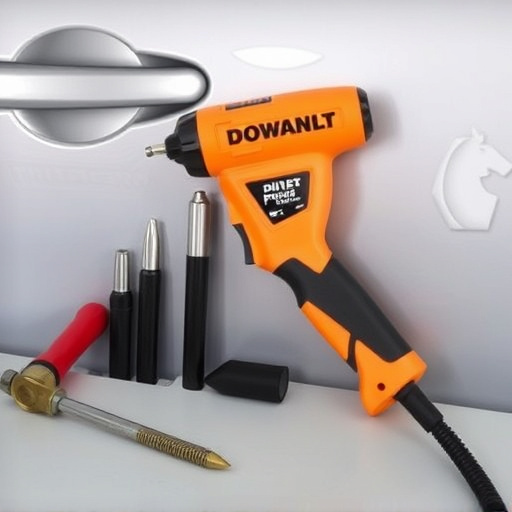
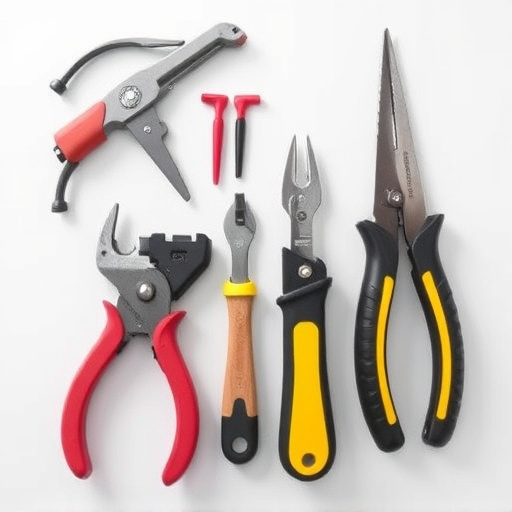
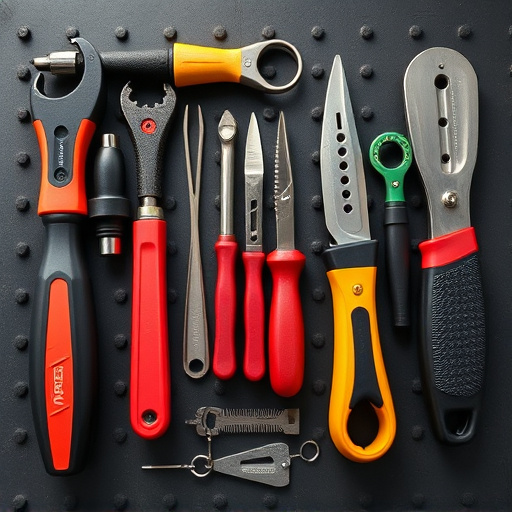
Gathering the right tools is the next step in the hood dent removal process. For minor dents, you might opt for a DIY approach with a hammer and suction cup dent pullers. These tools use air pressure to gently lift the dent out. However, for more significant damage, including hail damage repair or fender repair cases, it’s best to seek help from a collision center. They have specialized equipment like hydraulic presses and precision tools designed for complex dent removal tasks.
Remove Paint: Carefully Strip the Affected Area
Before you begin repairing a hood dent, it’s crucial to remove any paint that has been damaged or disturbed by the dent. Start by thoroughly inspecting the affected area and identifying the extent of the damage. Using a high-quality paint stripper or chemical solvent, carefully apply the solution to the dented region. This process will help lift the loose paint, revealing the bare metal underneath.
Be mindful during this step as it’s essential to avoid damaging the surrounding painted surfaces. Wear protective gloves and goggles for safety. Once the paint is stripped, assess the damage again; you might need to repeat the process if there are still traces of paint left, ensuring a clean and clear work area before proceeding to the next stage of hood dent removal.
Pop the Dent: Use Techniques to Release the Trapped Air
Popping a dent out of your car’s hood is an essential step in the hood dent removal process, especially after a vehicle collision. The first technique involves using heat to release trapped air. Applying a heat gun or a hairdryer on the dented area for a few minutes can help expand the metal, making it easier to pop back into place. Start with low heat and gradually increase it to prevent scorching or damaging the paint job.
Alternatively, you can try using a series of quick taps around the dent with a rubber mallet or a specialized dent removal tool. This process, known as ‘vibrational dent removal,’ helps to release the air pressure trapped inside the dented panel. After popping the dent, ensure the area is thoroughly inspected for any signs of damage, and proceed with auto maintenance as needed to restore your vehicle’s pre-collision condition.
Repairing a hood dent can be a straightforward process with the right approach and tools. By first assessing the damage, gathering necessary materials, removing paint if required, and then carefully popping the dent, you can effectively restore your vehicle’s appearance. Remember, proper preparation is key to achieving a professional-looking finish. With this step-by-step guide, you’re well-equipped to tackle hood dent removal and bid farewell to unsightly dents on your car.