


Thoroughly assess hood dents using various angles and lighting. For shallow dents, use DIY kits; for complex ones, seek professional help. Gather essential tools like dent puller, hammer, and sandpaper. Remove debris, apply dent puller, then smooth edges. Use auto body filler or putty, shape, dry, and paint for a seamless finish.
Looking to fix that pesky hood dent on your vehicle? This step-by-step guide provides a straightforward approach to hood dent removal. Before you begin, assess and prepare the area, gathering all necessary tools and materials. Then, follow our detailed instructions for removing and repairing the dent. By the end, your car will look as good as new, with no signs of that former dent remaining.
Assess and Prepare the Area
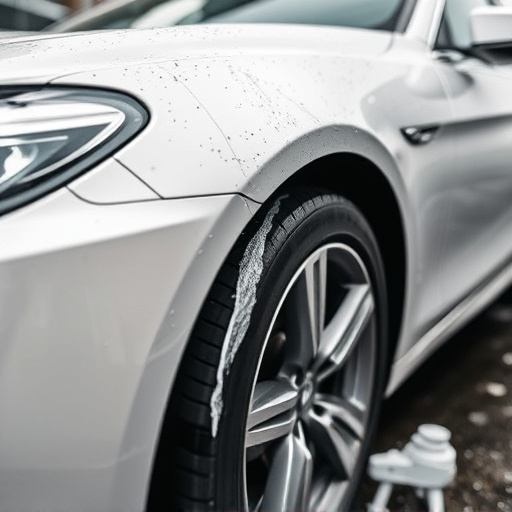
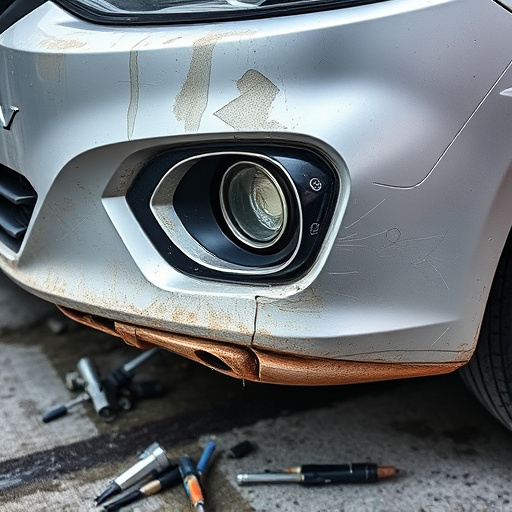
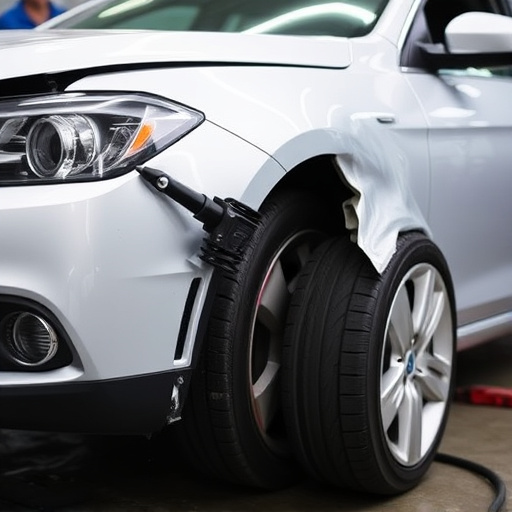
Before attempting any hood dent removal, it’s crucial to thoroughly assess and prepare the damaged area. Start by inspecting the extent of the dent using various angles and lighting conditions. Take note of its size, depth, and location on the hood—these factors will guide your chosen repair method. If the dent is shallow, you might be able to use a DIY kit for hood dent removal, which typically involves applying heat and using a special tool to pop out the dent.
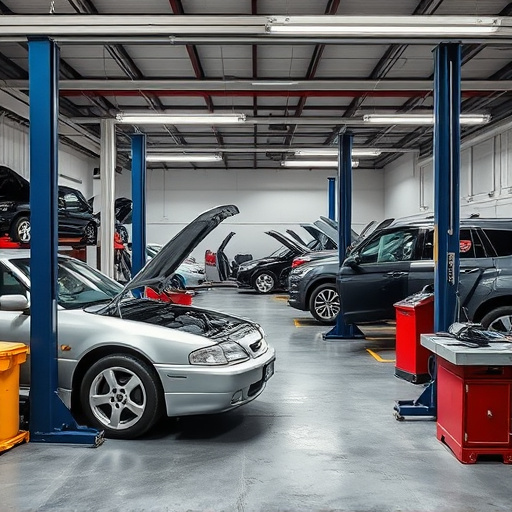
For deeper or more complex dents, especially in classic cars undergoing restoration, consider seeking professional help from an auto body shop near your location. Skilled technicians can assess if the paint needs to be stripped or if specialized tools for car paint services are required. Effective preparation ensures a seamless finish after repairs, whether it’s for simple hood dent removal or more intricate classic car restoration projects.
Gather Tools and Materials
Before you begin fixing a hood dent, it’s essential to gather all the necessary tools and materials. For most do-it-yourself repairs, you’ll need a few key items like a dent puller or extractor tool, a hammer, a mallet, and some rubber wedges. These tools are designed to safely and effectively pop out dents without causing further damage. Additionally, consider getting a can of automotive paint or primer if the dent is significant enough that it may affect your vehicle’s finish—this will be crucial for vehicle restoration and ensuring a seamless look once the dent is removed.
Remember, while these supplies are readily available at most car body shops and auto painting centers, trying to fix a hood dent yourself saves you the time and expense of taking your vehicle in for professional repairs. With the right tools and some patience, you can achieve impressive results that rival those of an expert, leaving your vehicle looking like new—all while avoiding costly trips to the shop.
Remove and Repair the Dent Step-by-Step
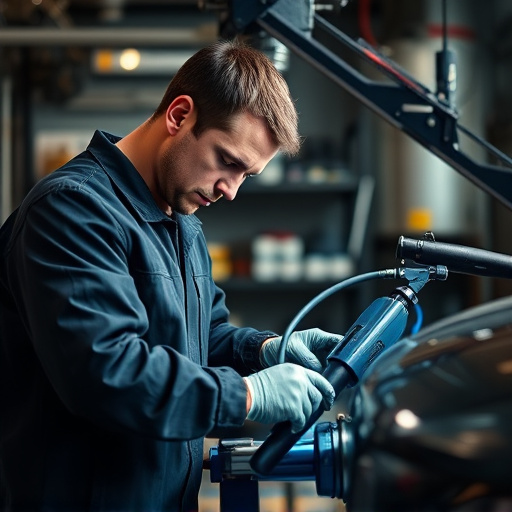
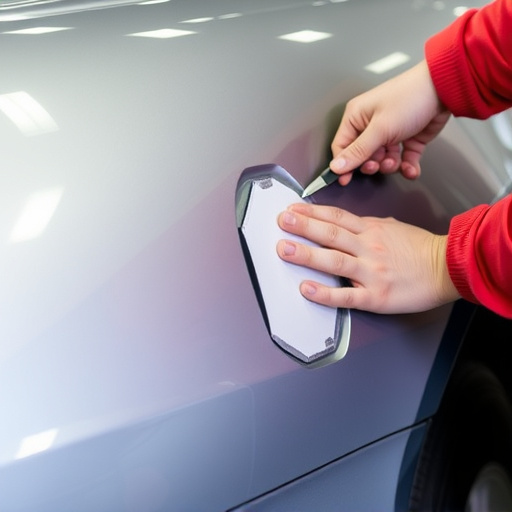
Removing and repairing a hood dent is a process that requires precision and the right tools to achieve a seamless finish. Start by gathering all necessary materials including a dent puller, a hammer, and putty knife. Carefully inspect the dent’s size and location before proceeding. This step-by-step guide will help you navigate through the process effectively.
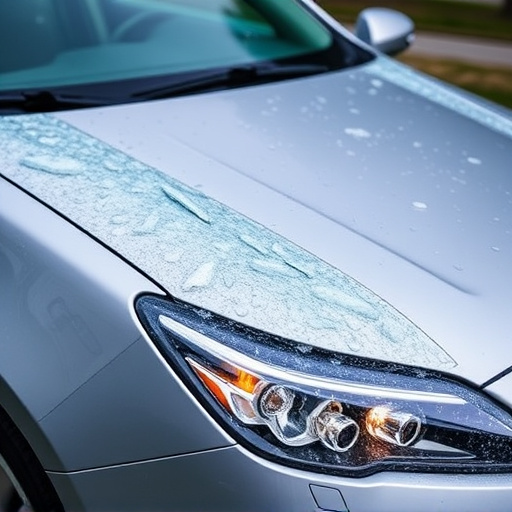
First, remove any debris or dirt around the dent using a vacuum cleaner or compressed air. Next, position the dent puller over the dented area, ensuring it makes complete contact. Apply gentle but firm pressure to pop out the dent, working slowly and methodically. Once the dent is removed, use sandpaper to smoothen any rough edges left behind. After sanding, clean the area thoroughly to remove dust and debris. Apply a thin layer of auto body filler or putty, using a putty knife to shape and even it out. Let the filler dry completely as per the manufacturer’s instructions before painting over it. This meticulous approach ensures effective hood dent removal and restoration, comparable to factory standards, in your vehicle repair process.
Fixing a hood dent doesn’t have to be a daunting task. By following these straightforward steps, from assessing and preparing your car’s surface to gathering the right tools and materials, and then meticulously removing and repairing the dent, you can restore your vehicle’s sleek appearance. Remember, proper care and a little patience will ensure effective hood dent removal, leaving your car looking as good as new.