


Post hood dent removal, assess vehicle's condition from various angles, maintaining reference images. Validate panel alignment and sealing with adjacent areas, including auto glass. After successful repair, maintain with thorough washing and polishing for protection. Regular car care, secure parking, and inspections prevent future dents in hood dent removal.
After successfully repairing a hood dent, proper post-fix care is essential for maintaining your vehicle’s aesthetics. This article guides you through the critical steps to ensure optimal results from your hood dent removal. We’ll show you how to assess your hood’s condition, implement a comprehensive cleaning and polishing routine, and prevent future dents and damage. By following these simple yet effective tips, you’ll keep your car looking as good as new.
- Assessing Your Hood's Post-Repair Condition
- Step-by-Step Cleaning and Polishing Routine
- Preventing Future Dents and Damage
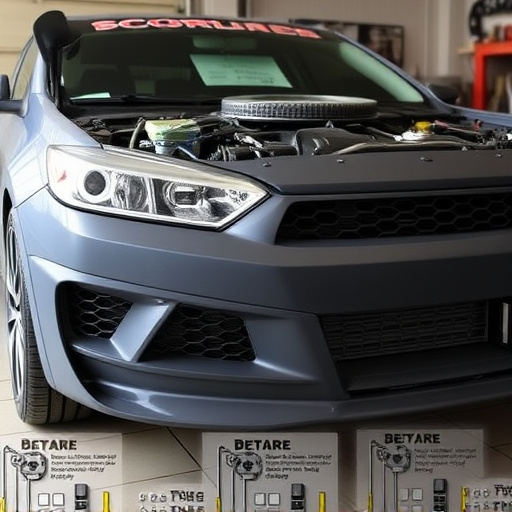
Assessing Your Hood's Post-Repair Condition

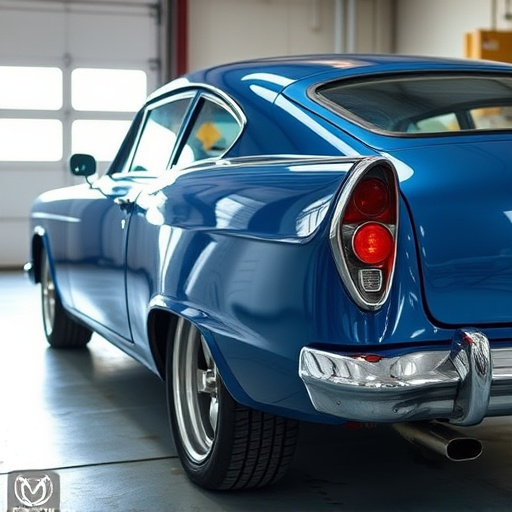
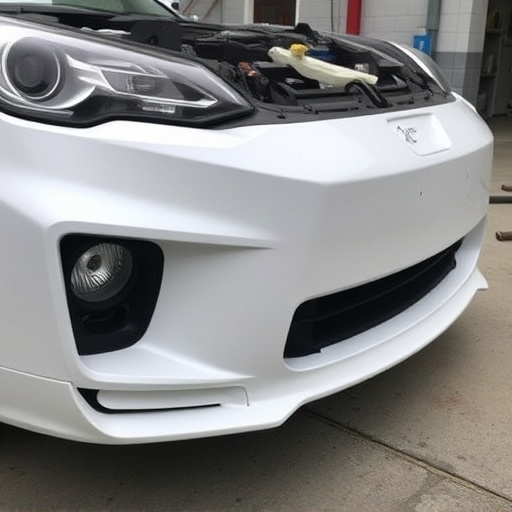
After your hood dent removal procedure, assessing the post-repair condition of your vehicle is crucial. Inspect the area thoroughly to ensure the dent has been successfully eliminated and there are no visible imperfections or residual damage. Look for any signs of uneven paint, scratches, or misalignment that might indicate incomplete repairs. Remember, even subtle issues can affect the overall aesthetic appeal of your car.
Consider taking photos at different angles as a reference point. This step is valuable for future comparisons and will help you gauge whether the hood dent removal service provided high-quality auto body repairs. Additionally, check for any potential issues with the surrounding areas, such as misaligned panels or faulty sealing, to ensure the entire fix was executed correctly, including any necessary auto glass replacement or car dent removal if related.
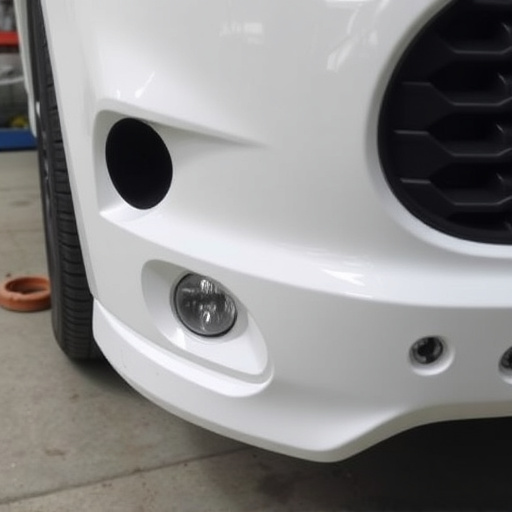
Step-by-Step Cleaning and Polishing Routine

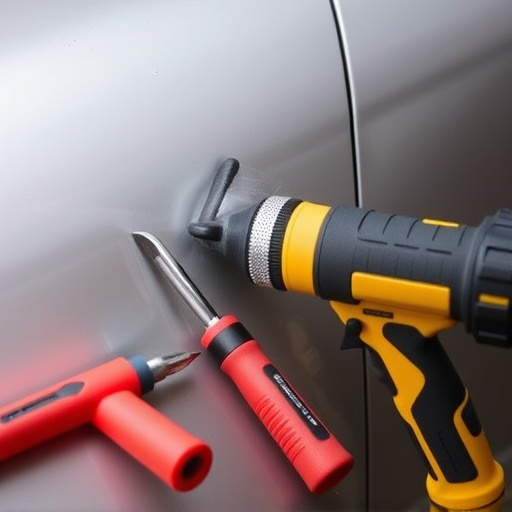
After successfully repairing a hood dent using paintless dent repair techniques or addressing hail damage through professional vehicle body repair services, maintaining the restored surface is key. Start by thoroughly washing your car to remove any dirt and debris that might have accumulated since the repair. Use a dedicated car shampoo and microfiber towels for a gentle yet effective clean.
Once the hood is spotless, move on to polishing. Apply a high-quality car polish using a polishing pad or machine polisher, focusing on smoothing out any remaining minor imperfections. This step not only enhances the overall look but also protects the paintwork by creating a glossy finish that repels dirt and grime, ensuring your hood dent removal treatment lasts longer.
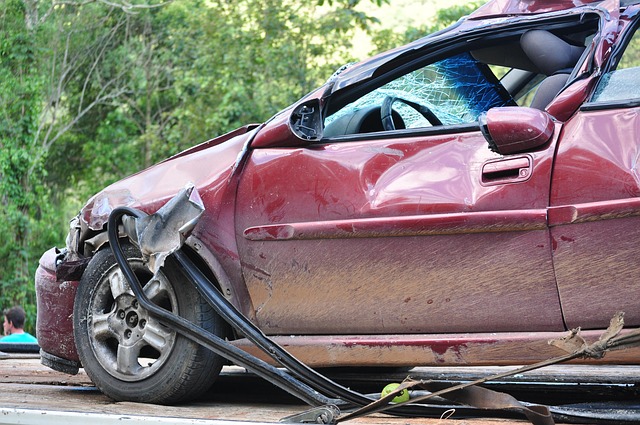
Preventing Future Dents and Damage

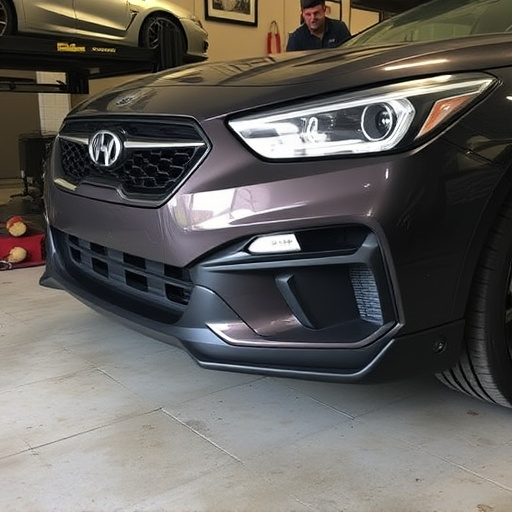
After successfully removing a hood dent with methods like paintless dent repair, it’s crucial to focus on preventing future dents and damage. Regular vehicle care is essential for maintaining the integrity of your car’s exterior. This includes washing your car frequently, especially in areas prone to stone chips and debris, as these can cause new dents. Using a soft cloth or sponge when washing prevents scratches that could lead to more serious damage.
Additionally, parking in secure locations and away from hazardous elements like trees or construction sites is beneficial. For businesses with fleets, regular check-ins with fleet repair services for preventive maintenance can catch potential issues early. Always inspect your vehicle after long-term storage or before road trips to ensure its protective coating remains intact, safeguarding it from the elements and minimizing the risk of future hood dent removal needs.
After successfully repairing your hood dent, proper post-fix care is crucial for maintaining a pristine look. Regular cleaning and polishing routines, coupled with preventive measures, will ensure your vehicle’s exterior remains damage-free. Remember to assess the condition of your hood periodically, as this step-by-step guide has outlined, to catch any potential issues early on in the process of hood dent removal. By implementing these simple yet effective practices, you can keep your car looking its best for years to come, all while saving on costly future repairs.