


Hood dent removal is a meticulous process requiring specialized tools and expertise to restore vehicles to their pre-damaged state, focusing on minor impact issues like parking lot dings. While DIY methods can handle simple cases, complex dents may necessitate professional car bodywork services. Essential tools include dent removal tools, a soft-head hammer, safety gear, putty knives, sandpaper, paint or primer, and gels/compounds. The right preparation ensures successful results, restoring the hood to like-new condition. This guide provides a clear step-by-step process using a dent puller, hair dryer, and automotive-grade filler, emphasizing heating, applying pressure, cooling, and using filler for optimal adhesion.
Thinking of fixing that unsightly hood dent yourself? This comprehensive guide is your go-to resource for mastering hood dent removal. From understanding the basics of this repair process to equipping yourself with the right tools and materials, we’ve got you covered. Learn a step-by-step approach to efficiently remove dents from your car’s hood, saving time, money, and potentially enhancing your automotive aesthetics. Discover expert tips for successful hood dent removal.
- Understanding Hood Dent Removal: The Basics
- Tools and Materials Required for the Job
- Step-by-Step Guide to Efficient Hood Dent Repair
Understanding Hood Dent Removal: The Basics

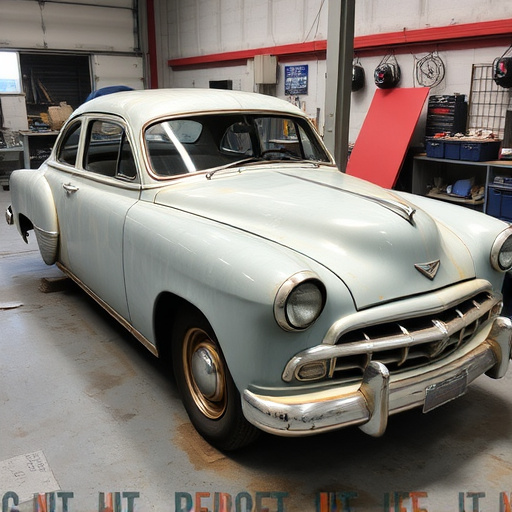
Hood dent removal is a specialized process aimed at restoring your vehicle’s exterior to its pre-damaged condition. It involves carefully extracting dents from car bodies, including hoods, without leaving behind unsightly marks or impairing structural integrity. This technique is particularly useful for minor impact damage, such as parking lot dings or small collisions.
Understanding the process is crucial when considering DIY methods versus professional car bodywork services. While some bumper repair and car dent repair can be tackled by enthusiasts, complex or deep dents might require advanced tools and expertise to ensure proper alignment and paint matching during the restoration process.
Tools and Materials Required for the Job
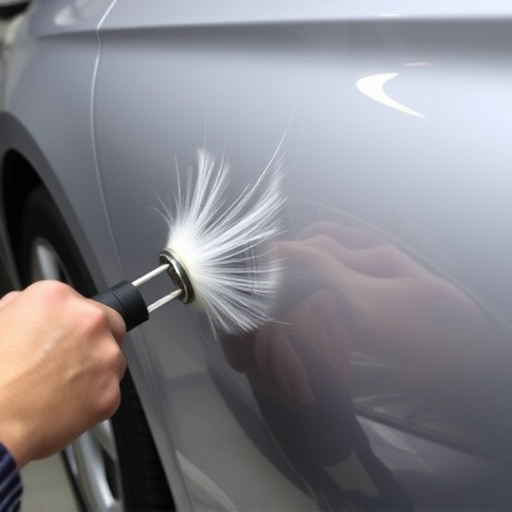
To successfully undertake hood dent removal, several specific tools and materials are essential. These include a set of specialized pry bars or dent removal tools designed to gently push out dents without damaging the car’s surface. Also, a hammer (preferably a soft-head variety) can be useful for targeted tapping to release the dented area. For protection and precision, safety glasses and gloves are must-haves.
In addition to these, you’ll require a mix of putty knives, various sizes of sandpaper, and a high-quality automotive paint or primer. A clear coat might also be needed, especially if matching the original finish is a priority. Some car body shops recommend using dent removal gels or compounds for more severe dents, which can be applied with a dabber or sponge before working them out with the tools. Remember, proper preparation ensures successful hood dent removal and a sleek, like-new auto bodywork finish.
Step-by-Step Guide to Efficient Hood Dent Repair

Removing a hood dent can be a daunting task, but with the right approach, it’s a process that every car owner can master. Here’s a straightforward guide to help you achieve flawless results and restore your vehicle’s exterior to its original condition. Start by gathering all the necessary tools: a dent puller (also known as a plunger), a hair dryer, and some automotive-grade filler or putty. Next, inspect the dent carefully to determine its severity; small dents can often be fixed without professional help.
For a step-by-step process, begin by heating the dented area using the hair dryer. This step is crucial as it helps ease the metal back to its original shape. Once warmed, insert the dent puller into the dent and apply gentle but firm pressure in one smooth motion. If the dent persists, you might need to repeat this process multiple times from different angles. After successfully removing the dent, allow the area to cool down before applying filler or putty to ensure proper adhesion.
Hood dent removal is a do-able task for car owners, offering an affordable solution to fix dents and dings. By understanding the process, gathering the right tools and materials, and following a step-by-step guide, you can efficiently restore your vehicle’s exterior to its original condition. Remember, proper preparation and careful work are key to achieving a professional result. With these tips in mind, you’re now equipped to tackle hood dent removal with confidence.