Hood dent removal using paintless dent repair (PDR) is a cost-effective DIY solution for restoring a car's aesthetic. This process employs specialized tools like dent pullers or clamps to gently pry out depressed metal, fixing dents and dings without affecting the vehicle's original finish or market value. A step-by-step guide highlights gathering necessary tools such as a hair dryer, tongs, mallet, putty knife, and filler for minor hood dents, emphasizing heating the dented area, prying from inside, filling, smoothing, and sanding for a seamless finish. Complex car collision repair may still necessitate professional auto body work.
Looking to fix those pesky hood dents yourself? You’re not alone. DIY hood dent removal is a popular choice for many car owners wanting to save money and avoid the dealership. This guide covers everything you need to know, from understanding the basics of dent removal to gathering the right tools and materials. We’ll walk you through a step-by-step process so you can confidently tackle those dents and restore your vehicle’s sleek look.
- Understanding Hood Dent Removal: The Basics
- Tools and Materials Required for Effective Dent Removal
- Step-by-Step Guide to DIY Hood Dent Repair
Understanding Hood Dent Removal: The Basics

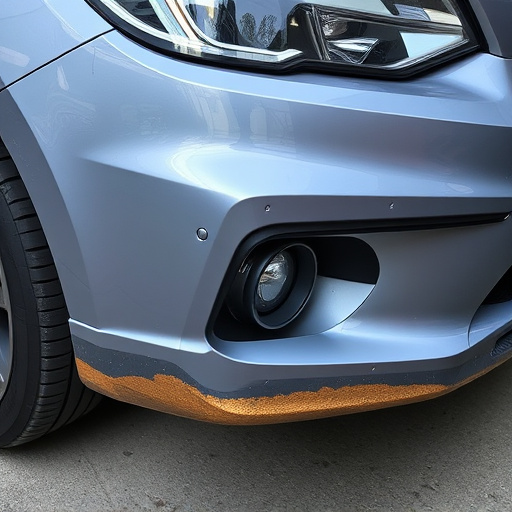
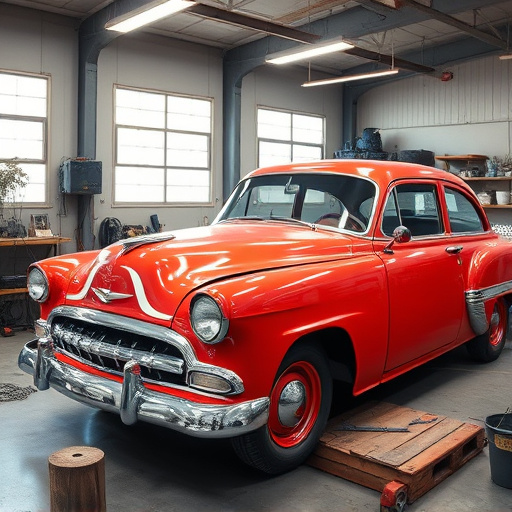
Hood dent removal is a process that allows car owners to restore their vehicle’s aesthetic appeal by fixing dents and dings on the hood. It’s a DIY-friendly project for those looking to save money and avoid costly auto body shop visits. The basics involve using specialized tools, such as dent pullers or clamps, to gently pry out the depressed area of the metal until it returns to its original shape. This technique, known as paintless dent repair (PDR), is effective on minor dents and can be a great way to maintain the value of your vehicle through proper auto detailing.
While some might think of it as a temporary fix, modern vehicle paint repair techniques have made hood dent removal a lasting solution. The process ensures that the original finish and gloss are maintained, making it an attractive alternative to painting or replacing entire panels. Moreover, automotive repair experts recommend PDR for its ability to preserve the integrity of the car’s body structure without leaving visible evidence of repairs, hence maintaining the vehicle’s overall market value.
Tools and Materials Required for Effective Dent Removal

To successfully remove hood dents, you’ll need a combination of tools and materials designed for effective dent repair. This includes a set of precision dent pullers or claw hammers, which are essential for gently lifting and shaping the dented area back to its original form. Additionally, you’ll require various sizes of foam or rubber mallets for precise adjustments and a dollop of automotive-grade putty or filler for smoothing out any remaining imperfections.
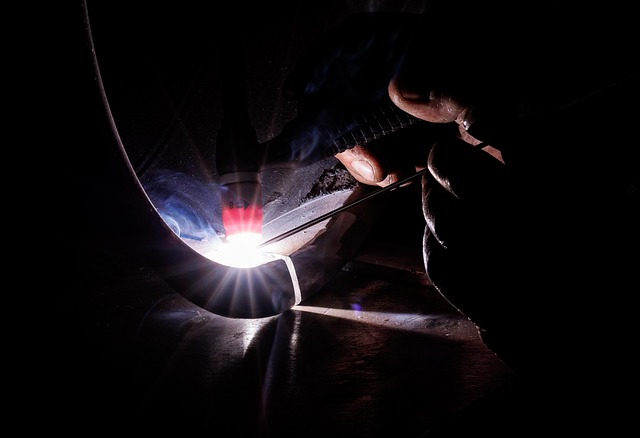
For more intricate hood dent removal jobs, consider adding some specialized tools like a dent tool kit with a variety of tips, an air compressor (for using with a dart tool), and a heat gun to help soften the paint and make adjustments easier. While these options might seem like body shop services, DIY methods are increasingly popular for vehicle restoration, allowing car owners to save costs and gain a deeper appreciation for their vehicle’s upkeep.
Step-by-Step Guide to DIY Hood Dent Repair

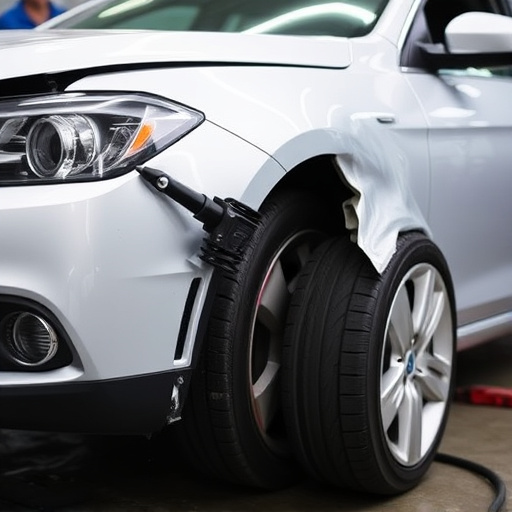
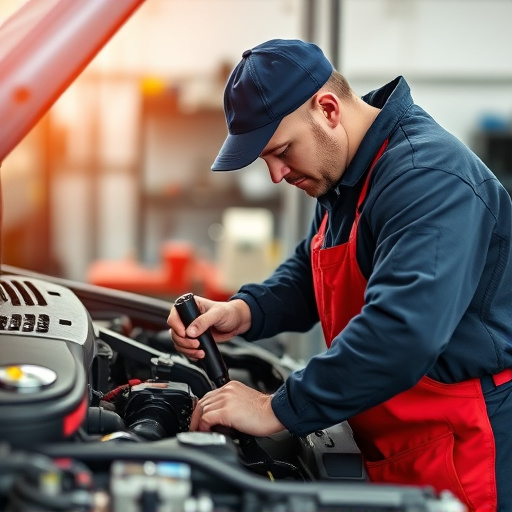
Removing a hood dent yourself can be a cost-effective solution for minor damage. Here’s a straightforward guide to help you tackle this DIY project. Start by gathering your tools and materials, including a hair dryer, metal tongs, or a mallet, and a putty knife. Heat the dented area with the hair dryer until it’s warm to the touch—this softens the paint, making it easier to work with. Once heated, use the tool of your choice (tongs or mallet) to gently pry out the dent from the inside. Be careful not to apply too much force, as this could damage the surrounding area.
After successfully removing the dent, use the putty knife to fill any gaps and smoothen the paint surface. This process might require several coats of filler and sanding between each to achieve a seamless finish. Remember, patience is key! While auto body services often recommend leaving such repairs to professionals, for minor hood dents, DIY methods can be successful with the right approach. Keep in mind, however, that more complex car collision repair may still necessitate professional auto body work.
Hood dent removal is now a feasible DIY project with the right tools and knowledge. By understanding the basics, gathering the essential materials, and following a simple step-by-step guide, you can efficiently restore your vehicle’s sleek look. With this process, you’ll save time and money compared to professional repairs, making it a practical solution for minor dents. So, whether you have a dent from a parking lot mishap or a bird collision, taking control of the repair is within your reach.