
Assess hood dent size and severity to decide between DIY or professional repair. Use specialized tools for precise removal, matching putty, primer, and paint for a seamless finish. This guide covers severe hood dent removal using heat, force, filler, sandpaper, primer, and paint for an effective, cost-efficient restoration.
“Curious about how to fix a large hood dent without a full replacement? This comprehensive guide provides a step-by-step approach to effective hood dent removal, empowering you to tackle the issue yourself. From assessing the damage and planning repair to choosing the right tools and materials, we break down the process for optimal results. Discover techniques to restore your vehicle’s exterior seamlessly and save on costly dealership repairs.”
- Assessing the Damage and Planning Repair
- Choosing the Right Tools and Materials
- Step-by-Step Guide to Dent Removal
Assessing the Damage and Planning Repair
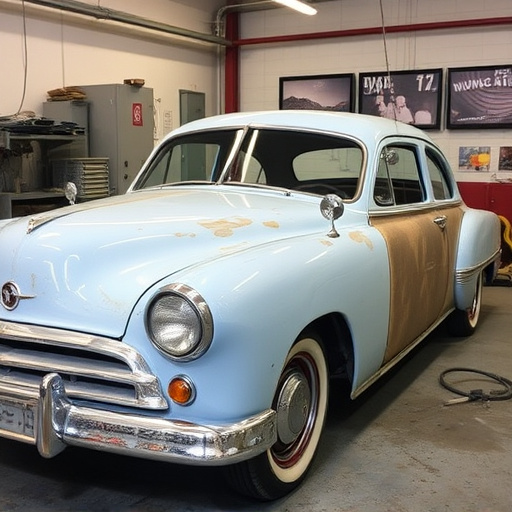
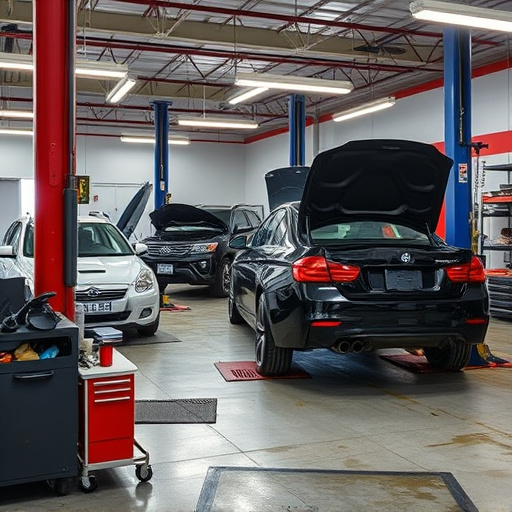
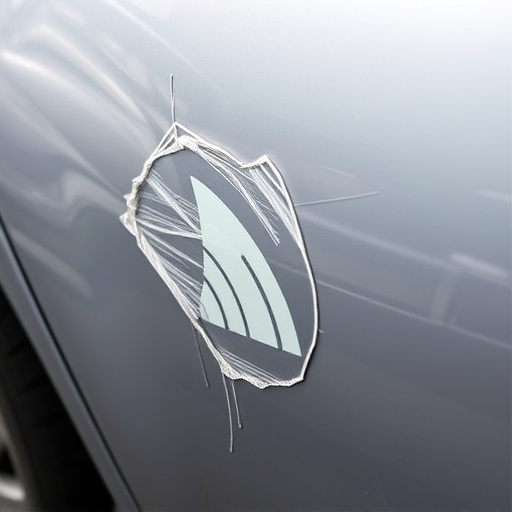
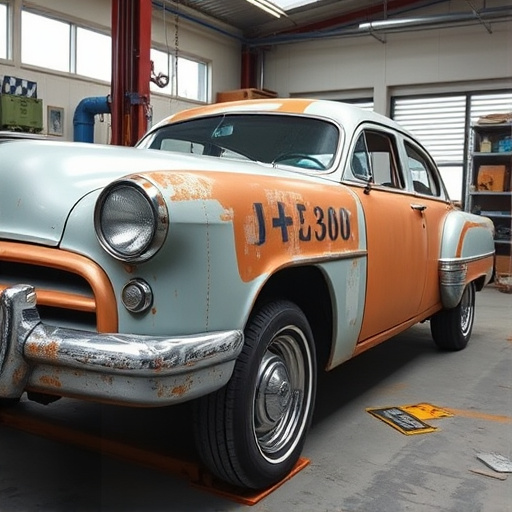
Assessing the extent of the hood dent is the first step in repairing it without a full replacement. Carefully inspect the dented area to determine its size, depth, and location. Smaller, shallow dents can often be corrected with DIY methods, while larger or deeper ones might require professional intervention. If the dent has affected the vehicle’s structural integrity or is located near sensitive components, consulting a qualified mechanic for an assessment is advisable.
Planning your repair strategy involves considering both the scope of the damage and your budget. For minor hood dent removal, you might opt for techniques like using a plastic mallet or specialized tools to gently push out the dented area. This process, known as ‘pinning’ or ‘popping’, can be effective for smaller dents. For more significant car damage repair, such as deep or complex dents, vehicle paint repair techniques may be needed. These often involve filling, sanding, and repainting the affected area to match the vehicle’s original finish, ensuring a seamless and professional-looking fix to your vehicle repair.
Choosing the Right Tools and Materials
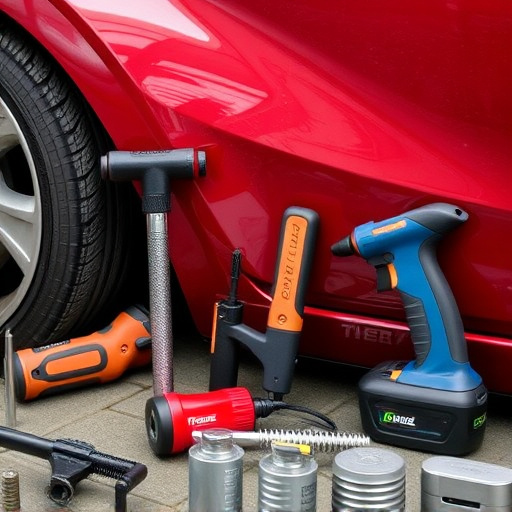
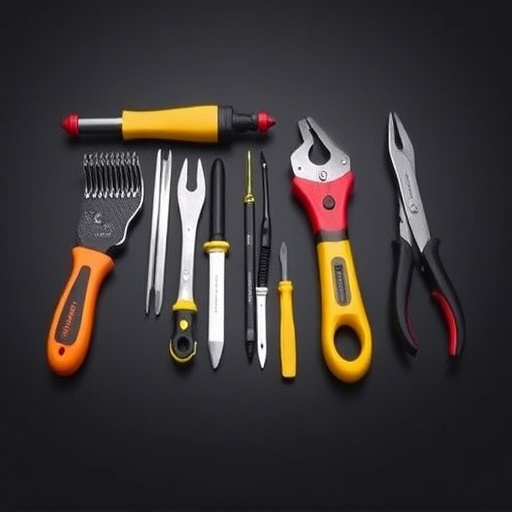
When tackling a large hood dent removal project, selecting the appropriate tools and materials is paramount to achieving a successful repair. Start by gathering essential items like a dent puller or tool kit, which are designed to apply precise force and remove dents without damaging the car’s surface. These kits often include a range of attachments for different sized dents, making them versatile for various automotive body work needs.
Additionally, prepare your workspace with the necessary materials such as auto-body putty, primer, and paint that match your vehicle’s original color. Car paint services professionals rely on these products to ensure a seamless finish after dent removal. Vehicle restoration enthusiasts might already have these in their garage, or you can easily find them at automotive stores, ready to use for your hood dent removal project.
Step-by-Step Guide to Dent Removal
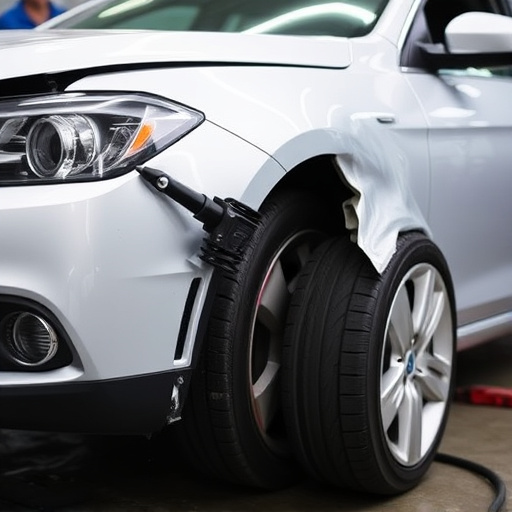
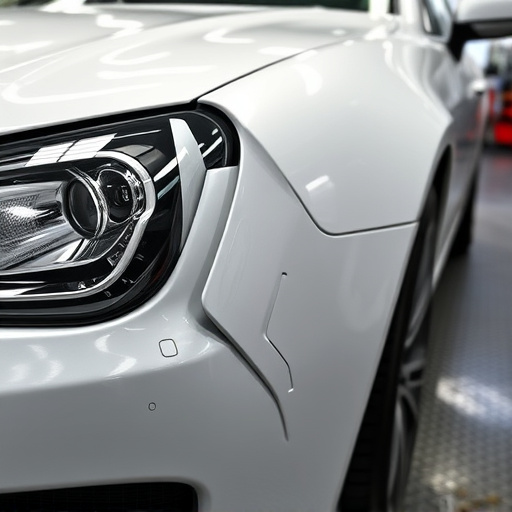
To fix a large hood dent without replacing the entire component, follow this step-by-step guide for effective hood dent removal. Begin by inspecting the dent’s size and depth to determine the extent of the damage. If the dent is shallow, you might be able to use a specialized dent puller tool to pop it out. These tools apply precision force in the right direction, making them ideal for minor dents. For deeper or more complex dents, consider using a heat gun to warm up the metal before applying pressure with a dent removal hammer and dolly set. This process eases the metal back to its original form without causing further damage.
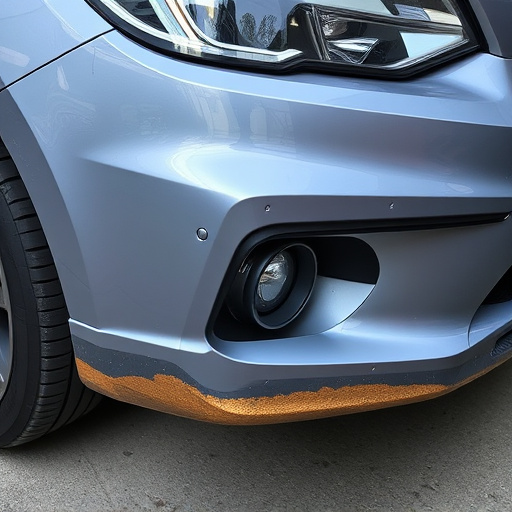
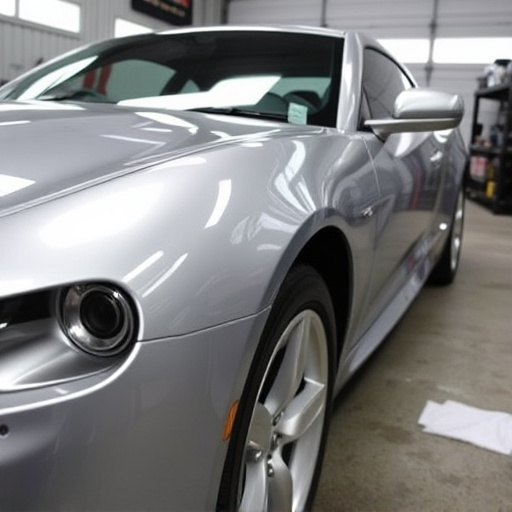
Next, prepare your work area by ensuring good lighting and laying down drop cloths to protect the surrounding areas from debris. Once ready, use a putty knife to apply a suitable auto body filler or putty to the dented area. Smooth the surface after application to ensure an even finish. Allow the filler to dry according to the manufacturer’s instructions before sanding it down for a seamless fit. After sanding, clean the area thoroughly and prime it to match your car’s original paint job. Finally, apply the matching exterior paint, allowing each coat to dry completely before moving on to the next, for optimal hail damage repair and a restored look in auto body repair.
Fixing a large hood dent without full replacement is not only cost-effective but also allows you to retain your vehicle’s original aesthetic. By carefully assessing the damage, selecting the right tools and materials, and following a step-by-step guide, you can successfully remove the dent and restore your car’s look. Hood dent removal techniques offer a practical solution for quick repairs, ensuring your vehicle retains its value and sleek design.