


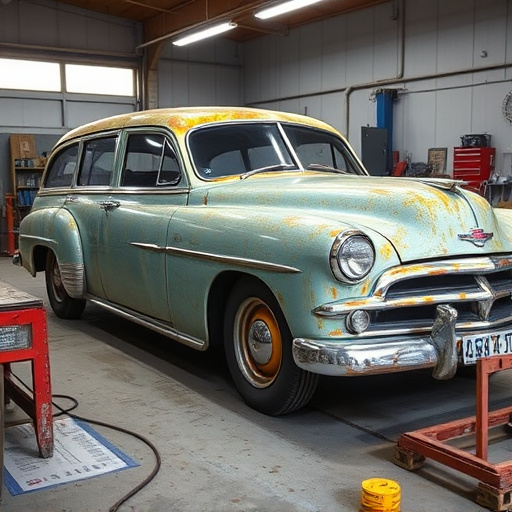
Hood dent removal involves assessment, extraction with specialized tools, and restoration using filler, putty, and primer. Gather specific tools and safety gear for DIY or consult a professional collision center for severe damage. Shallow dents can be addressed at home, while deeper hail damage requires expert services to preserve vehicle aesthetics and resale value.
“Experience hail damage on your vehicle’s hood? Learn how to tackle it head-on with our comprehensive guide to hood dent removal. Understanding the process, familiarizing yourself with required tools and materials, and following a step-by-step approach can restore your hood to its original condition. Discover simple yet effective techniques for efficient hood dent removal, ensuring your vehicle’s aesthetic appeal.”
- Understanding Hood Dent Removal Process
- Tools and Materials Needed for Repair
- Step-by-Step Guide to Fixing Hail Damage
Understanding Hood Dent Removal Process
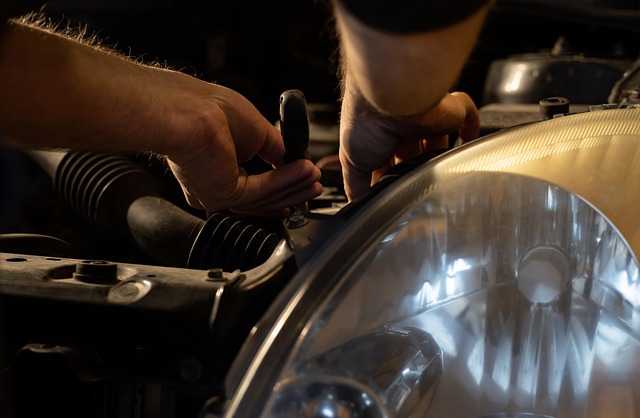
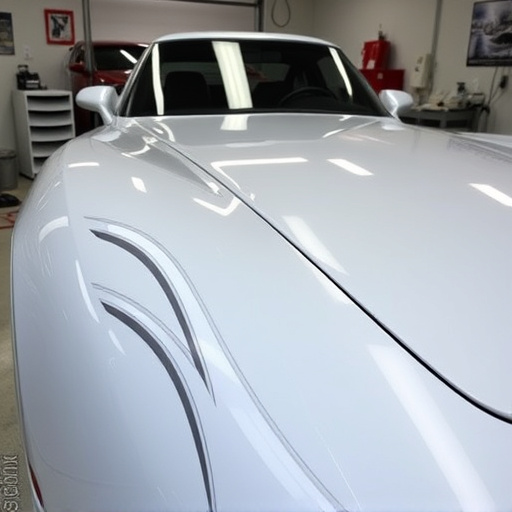
The process of hood dent removal is both an art and a science, requiring precision and expertise to restore your vehicle’s exterior to its pre-damage condition. It begins with careful assessment of the hail damage or other causes of dents on the hood. Professionals use specialized tools like picks, hammers, and putty knives to carefully extract the dented area without causing further harm to the surrounding surface.
Once the dent is removed, automotive restoration techniques come into play. This involves filling in the depressed area with auto-grade body fill or putty, sanding it smooth, and then applying a layer of primer to ensure proper adhesion for the final paint job. The result is a seamless repair that’s nearly indistinguishable from the original hood, showcasing the skill of auto repair services in achieving vehicle dent repair.
Tools and Materials Needed for Repair
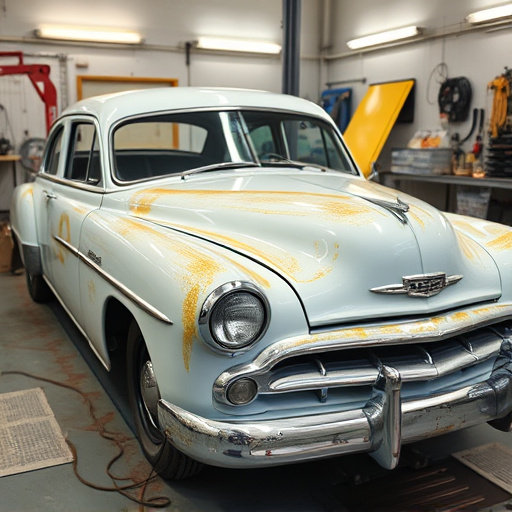
To tackle hood dent removal successfully, gather the right tools and materials. You’ll need a set of precision nail pullers or dent removal tools designed specifically for this task. These tools are crucial for gently extracting the dented area without causing further damage. Additionally, a hammer will be required to support the process. For protection and cleaner results, prepare automotive-grade filler, body putty, and a high-quality paint matching your vehicle’s color. Don’t forget safety gear like gloves and eye protection to safeguard against debris.
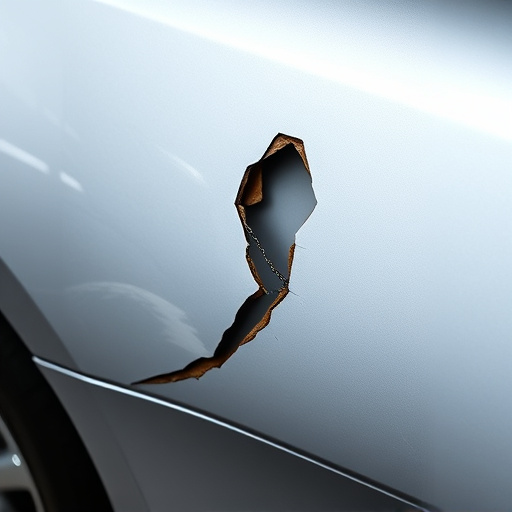
Complementary services such as auto glass repair or auto body services may also be required depending on the extent of the hail damage. If the hood shows signs of cracks, chips, or significant metal deformation beyond dent removal, it’s best to consult a professional collision center for comprehensive repairs. Ensure you have all necessary materials and safety precautions in place before attempting any DIY hood dent removal.
Step-by-Step Guide to Fixing Hail Damage
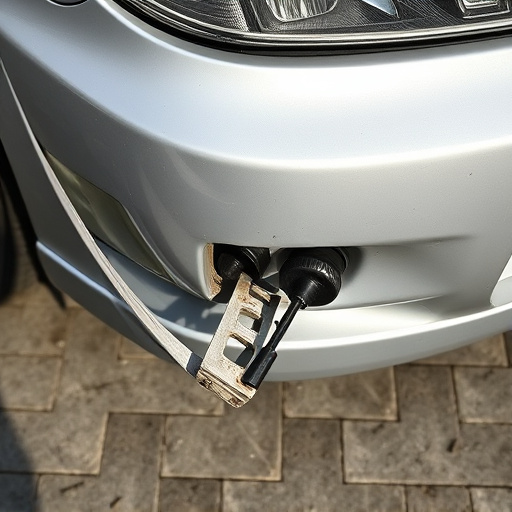
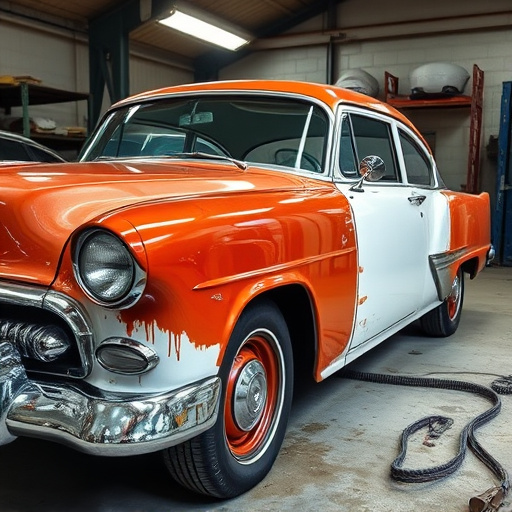
Removing hail damage from your car hood is a process that requires care and precision. Start by inspecting the dent carefully to assess its severity. If the dent is shallow, you might be able to fix it yourself using a dent removal kit available at most auto parts stores. These kits often include a suction cup and a metal tool for gently pushing out the dent.
For deeper dents, consider seeking help from a professional. A reliable car body shop near you can offer expert automotive restoration services. They will first assess the damage, then use specialized tools to remove the dent without damaging the hood’s paint job. This method ensures a more precise and effective repair, leaving your car looking like new. Remember, proper hood dent removal is key to maintaining your vehicle’s aesthetic appeal and resale value.
Hood dent removal is a viable solution for fixing hail damage, offering a cost-effective alternative to replacement. By understanding the process, gathering the right tools and materials, and following a step-by-step guide, you can effectively restore your vehicle’s aesthetic appeal without breaking the bank. With some patience and care, you’ll have a smooth, dent-free hood in no time.