


Hood dent removal involves assessing damage, using DIY kits or professional help based on severity. Essential tools include a dent puller, hammer, mallet, and specific materials for preparation and finish. A structured approach saves time, money, ensures professional results while restoring vehicle appearance.
Are you looking to fix a dented car hood on your own? Hood dent removal is an art that every car owner should know. This guide will walk you through the process, from understanding the technique to gathering the right tools and materials. By following our step-by-step instructions, you’ll master the DIY method and save time and money. Learn how to restore your hood’s original look with simple yet effective techniques tailored for beginners.
- Understanding Hood Dent Removal Process
- Tools and Materials Needed for Repairs
- Step-by-Step Guide to Effective DIY Repair
Understanding Hood Dent Removal Process
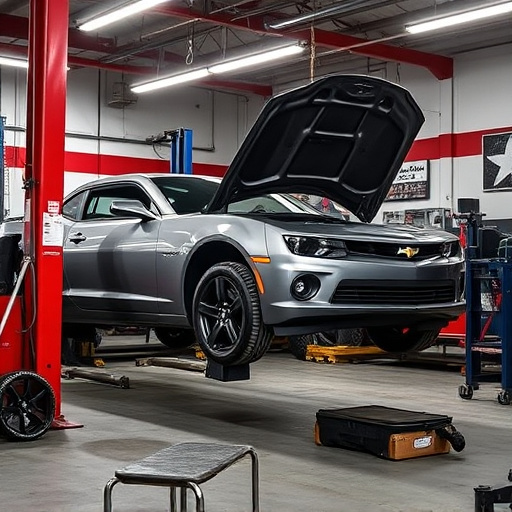
Hood dent removal is a process that involves repairing dents or dings on your vehicle’s hood, aiming to restore its original appearance. It’s a DIY-friendly task that many car owners take on to save money and maintain their vehicle’s aesthetics. The first step is to assess the damage. Inspect the dent closely to determine its size and depth; this will guide the repair approach. Some minor hood dents can be fixed using DIY kits, which typically include a variety of tools and putty for filling and smoothing out the dent.
For more severe cases, especially those involving deeper dents or multiple impacts, professional help might be necessary. This often involves techniques like frame straightening, similar to what tire services offer, but tailored to hood dent removal. The process may also include priming and painting to ensure a seamless finish that matches your car’s original color. Understanding the extent of the damage is key; minor dents can often be fixed at home, while more complex cases require expert intervention, ensuring your vehicle retains its value and safety standards are met.
Tools and Materials Needed for Repairs

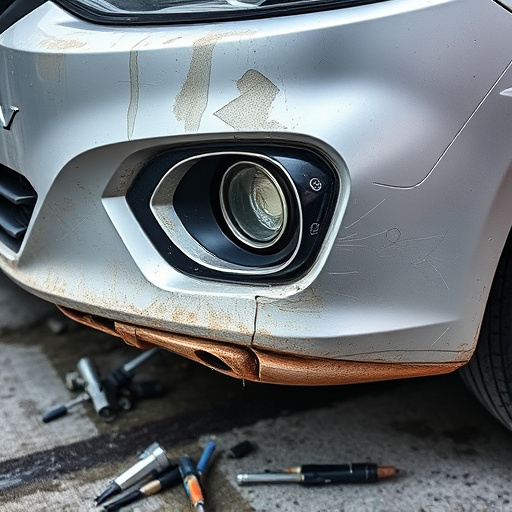
To tackle a hood dent removal project successfully, several essential tools and materials are required. For beginners, investing in a good-quality dent puller is crucial. This tool, also known as a metal slider or dent removal tool, is designed to gently pry out dents from the car’s surface without causing further damage. A set of various-sized dent pullers catering to different dent sizes will be most beneficial. Additionally, you’ll need a few other essential items like a hammer, a mallet, and some rubber mallets.
For effective hood dent removal, suitable materials such as damp cloths or towels, industrial strength glue, and a paint match kit are also necessary. These will aid in preparing the damaged area, securing the dent puller, and ensuring a seamless finish once the dent is removed. Remember, proper preparation is key to achieving professional-looking automotive repair results.
Step-by-Step Guide to Effective DIY Repair

Removing a hood dent by yourself can seem daunting, but with the right approach and tools, it’s a manageable DIY project. Here’s a step-by-step guide to help you achieve effective hood dent removal at home. Start by gathering your supplies: a dent puller or a plastic mallet, damp cloth, auto body putty, sandpaper (grit 400-600), and car paint (matching your vehicle’s color). Park your car in a well-lit, cool area and ensure the surface is clean and dry. Next, use the damp cloth to moisten the dented area, as this will make it easier to work with the putty. Using the dent puller or mallet, gently tap around the edges of the dent, working your way inwards. This will help release the tension in the metal. Once the dent is loosened, use the sandpaper to smoothen out any remaining dimples or ridges. After sanding, apply a thin layer of auto body putty over the dented area, making sure it’s even with the surrounding surface. Allow the putty to dry completely, usually around 24 hours. Finally, once dry, gently sand the area again to achieve a smooth finish and apply car paint to match your vehicle’s color for a seamless repair. With these steps, you can confidently tackle minor hood dents yourself, saving time and money while maintaining your car’s aesthetic appeal with professional-grade auto body repair techniques.
Hood dent removal need not be a daunting task. With the right tools, materials, and a simple step-by-step guide, beginners can effectively repair their car’s dents at home. By understanding the process and having the necessary supplies on hand, you can achieve professional-looking results without breaking the bank. So, whether you’ve got a minor bump or a more significant dent, these DIY tips for hood dent removal will empower you to take control of your vehicle’s aesthetics.