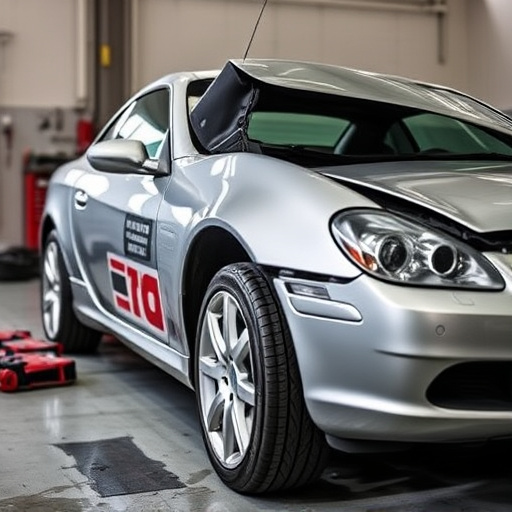
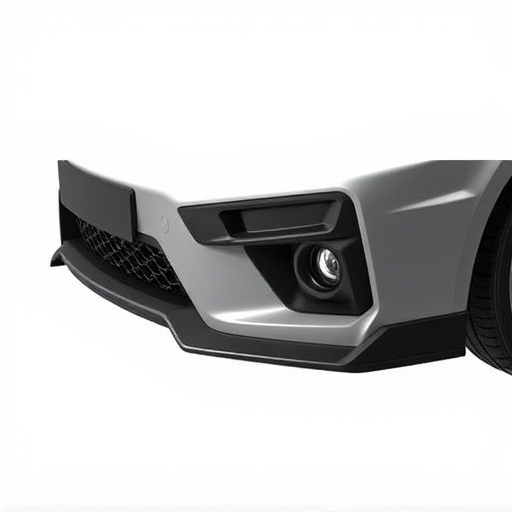


Thoroughly assess dent size and depth for hood dent removal. Use tools like dent pullers or foam rollers for minor dents, or professional equipment for severe cases. Gather body filler, primer, paint, and auto glass kit (if needed). Prepare the area, pop out the dent with force, and shape metal gently. Sand, prime, and paint the surface for a seamless, professional finish.
“Discover an effective, cost-saving solution for fixing large hood dents without a full replacement. This step-by-step guide delves into the process of hood dent removal, starting with assessing the damage and gathering essential tools. Learn how to prepare the area and expertly pop the dent, followed by techniques to smoothly finish and paint for a discreet, professional result. Optimize your car repair skills with these straightforward methods for hood dent removal.”
- Assess the Damage and Gather Materials
- Prepare the Area and Pop the Dent
- Smooth and Paint for a Discreet Finish
Assess the Damage and Gather Materials
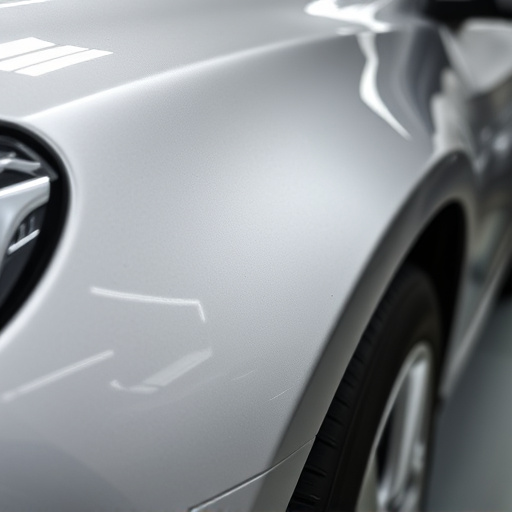
Before starting any repair work, it’s crucial to assess the extent of the hood dent and gather the necessary tools and materials. Begin by inspecting the dent carefully; note its size, depth, and location on the vehicle. This step is critical as it determines the approach for removal. Minor dents might be suitable for DIY repairs using specialized tools like dent pullers or foam rollers. These tools gently apply pressure to pop out the dent without causing further damage.
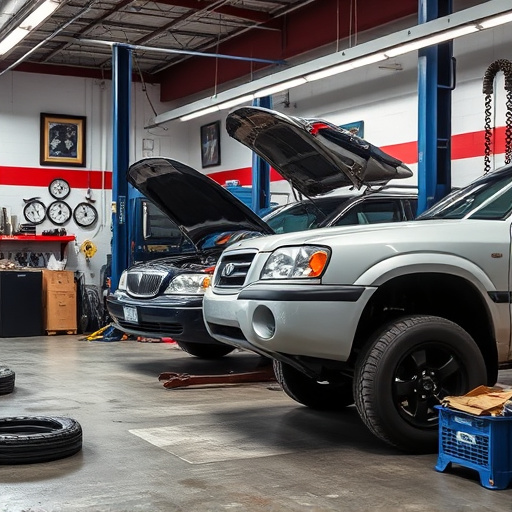
For more severe hood dent removal, especially those resembling a crater, professional-grade equipment like hydraulic presses or vibration tools may be required. Additionally, gather materials such as body filler, primer, paint, and possibly an auto glass replacement kit if there’s any associated chip or crack. Remember that proper preparation is key to achieving a seamless fender repair, ensuring the car looks as good as new.
Prepare the Area and Pop the Dent
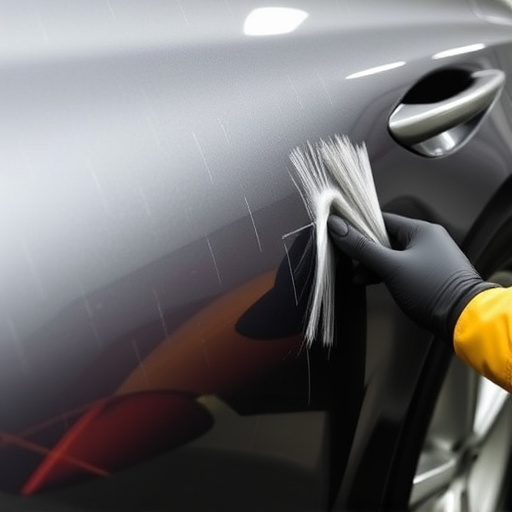
Before attempting any hood dent removal, it’s crucial to prepare the area thoroughly. Clear away any debris or loose parts from around the dented region, ensuring a clean and safe workspace for your repair efforts. This step is essential as it allows you to access the dent accurately and makes the subsequent steps easier. Additionally, ensure that you have all the necessary tools for the job, including a dent puller or tool kit designed specifically for hood dent removal.
Once the area is ready, it’s time to pop the dent. This involves using specialized tools to gently apply force around the edge of the dent, slowly lifting and shaping the metal back to its original form. It’s an art that requires precision and patience, as applying too much pressure can worsen the damage. The goal here is to smooth out the indent until it’s almost imperceptible, leaving behind a flawless finish that matches your vehicle’s original appearance—all without needing a full auto body repair or visiting a costly body shop service.
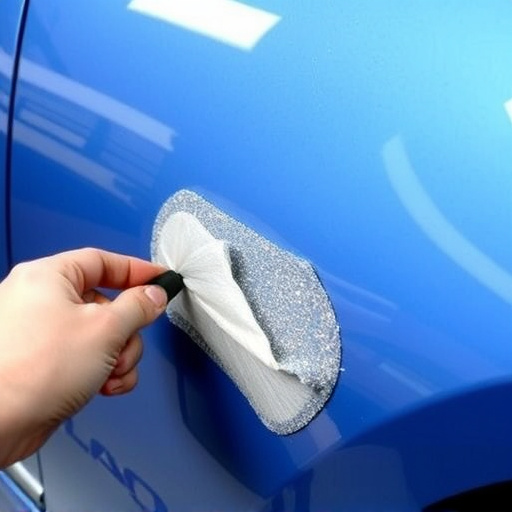
Smooth and Paint for a Discreet Finish
After successfully popping out the dented area, it’s crucial to prepare the surface for painting. Start by using fine-grit sandpaper to gently smooth any remaining imperfections and ensure a clean canvas for your paint job. This meticulous step is vital in achieving a discreet finish.
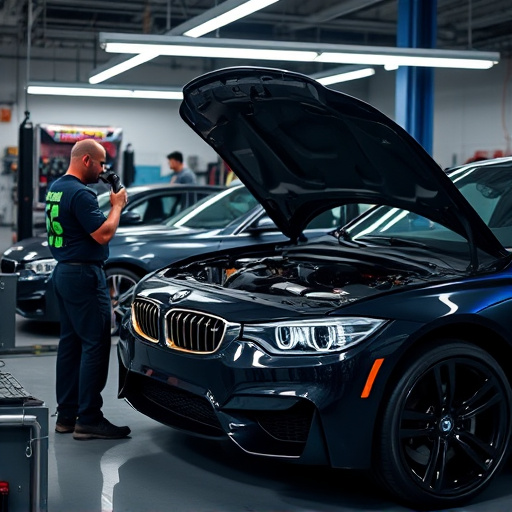
Next, apply an even coat of primer, allowing it to dry completely. Primer acts as a base, ensuring the new paint adheres well and creating a uniform surface. Once primed, proceed with your chosen color, applying multiple thin layers for optimal coverage. Be patient between coats, and remember that patience is key in achieving a professional-looking, seamless finish—a true testament to effective hood dent removal methods without a full replacement, carried out by an automotive body shop or auto collision center.
Fixing a large hood dent without replacement is achievable with the right approach. By carefully assessing the damage, preparing the area, and skillfully popping the dent, you can restore your vehicle’s appearance. Smooth out the edges and apply paint for a discreet finish, turning a problematic dent into a barely noticeable reminder of an incident long past. With these steps, you’ll master the art of hood dent removal, saving time, money, and preserving your car’s aesthetic appeal.